Building The Boat
The MaquetteIt's amazing what you can do with a few (empty) boxes of Crunchy Nut Cornflakes and some masking tape! If only I could have made the real thing out of cereal packets, but the real thing turned out to be 10 times bigger than this. And just incase you're trying to work out the scale in these pictures, that's my macbook with my animation on the screen.
This, however, is how The Echo Collector installation began its life, conceived one morning in July 2014 whilst drinking tea in the garden with my partner, fretting over the execution of my upcoming MA show. The idea was simple enough, but at this point the build was still a mammoth task with only a few short weeks to pull it together. Materials to source for a start! Fortunately, I had some wonderful technical assistance on hand from my partner, fellow artist and real-life boat-dweller Tim Edmonds. I, of course, assumed I would be making tea, shouting instructions and waiting patiently with all the exciting things with which to make it look like the inside of a boat, whilst he wielded the hammers and screwdrivers ... I was wrong. |
|

|
|
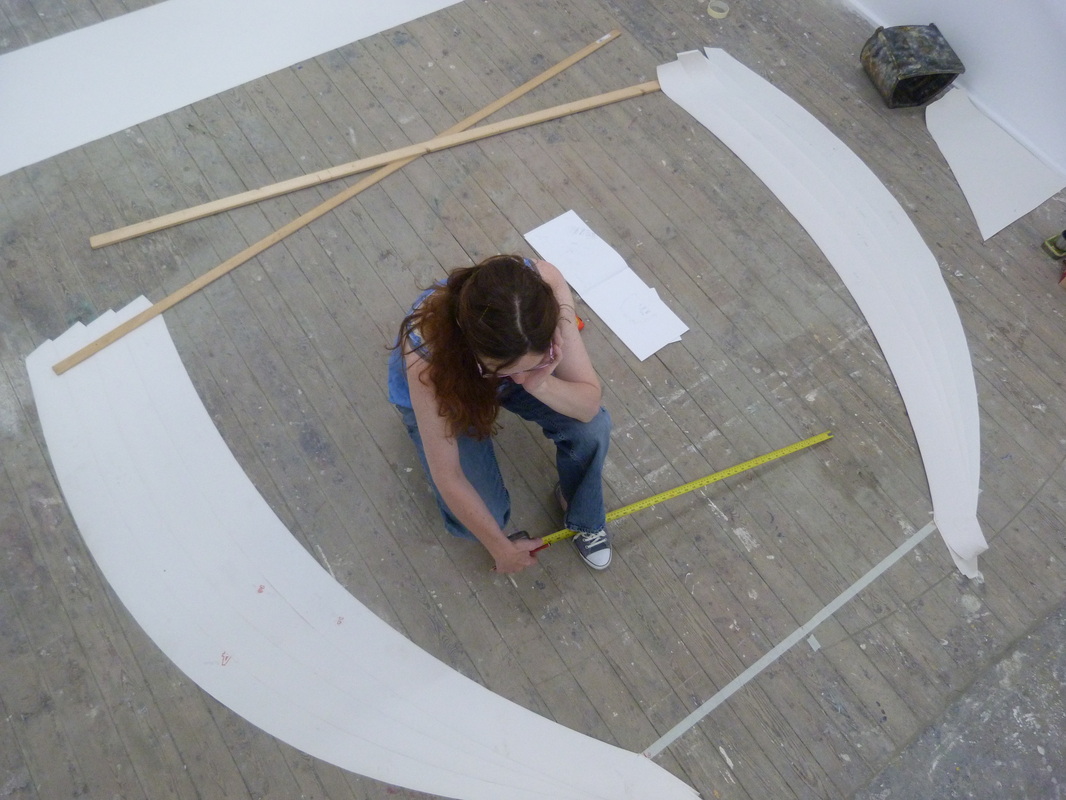
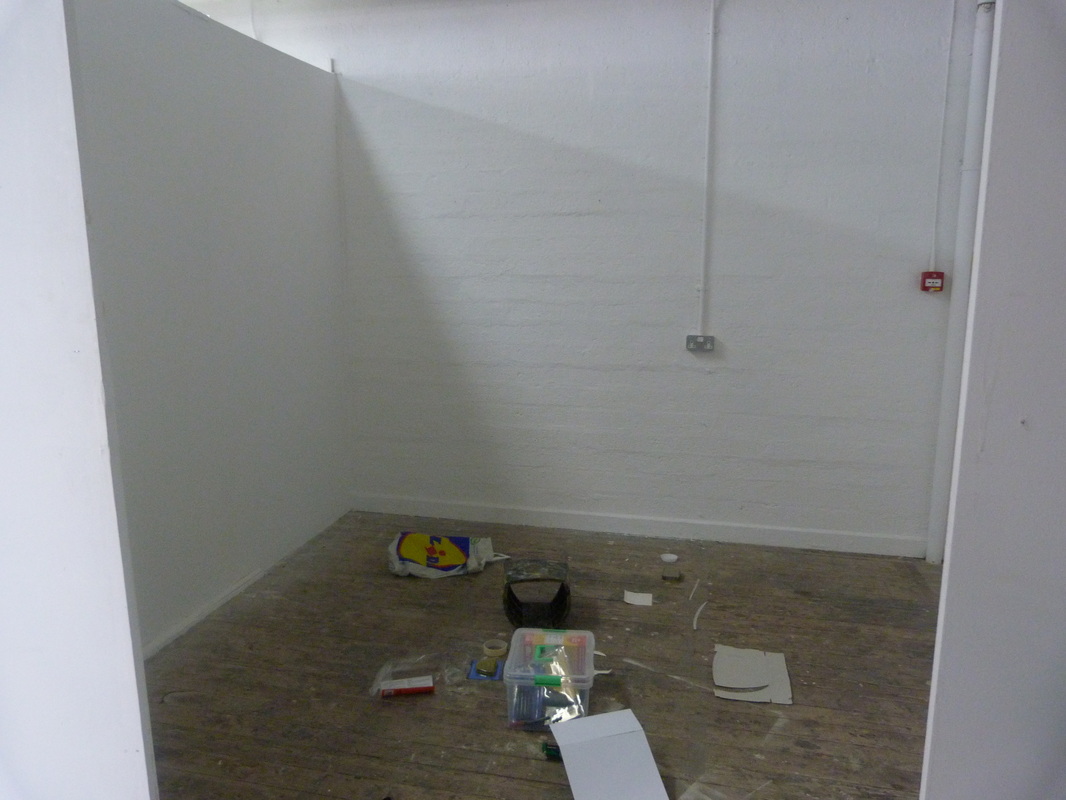
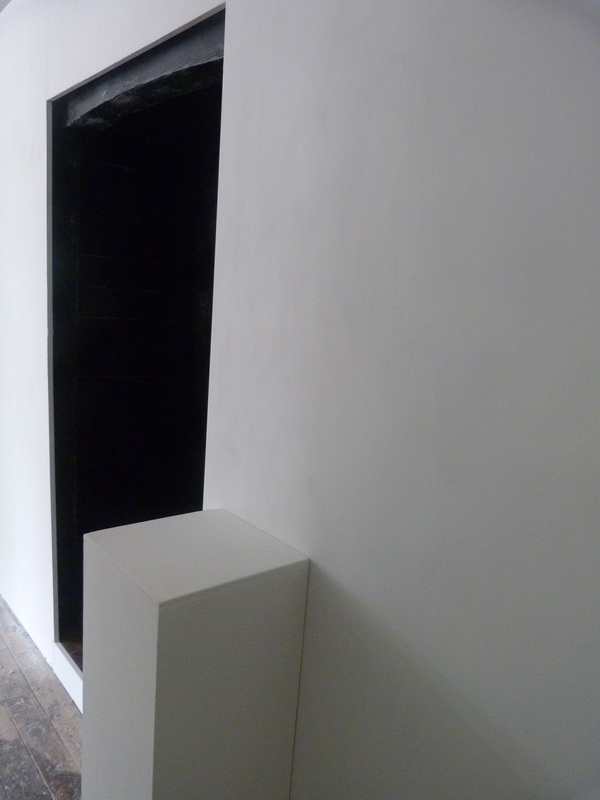
Making TemplatesI wanted to construct the boat within a white cube, keeping the exterior clean and sharp as a contrast to the dark gloom of the interior, so this is the space I began with. It was slow, boring work to begin with, making templates for the beams and basically doing a lot of complicated maths. Getting the measurements right at this stage was essential so I had to exercise a lot of patience at a time when I was desperate to start building! In the meantime, I had a house full of double-walled cardboard sheets that even the most imaginative of minds would have struggled to picture as the interior of a fishing trawler!
|

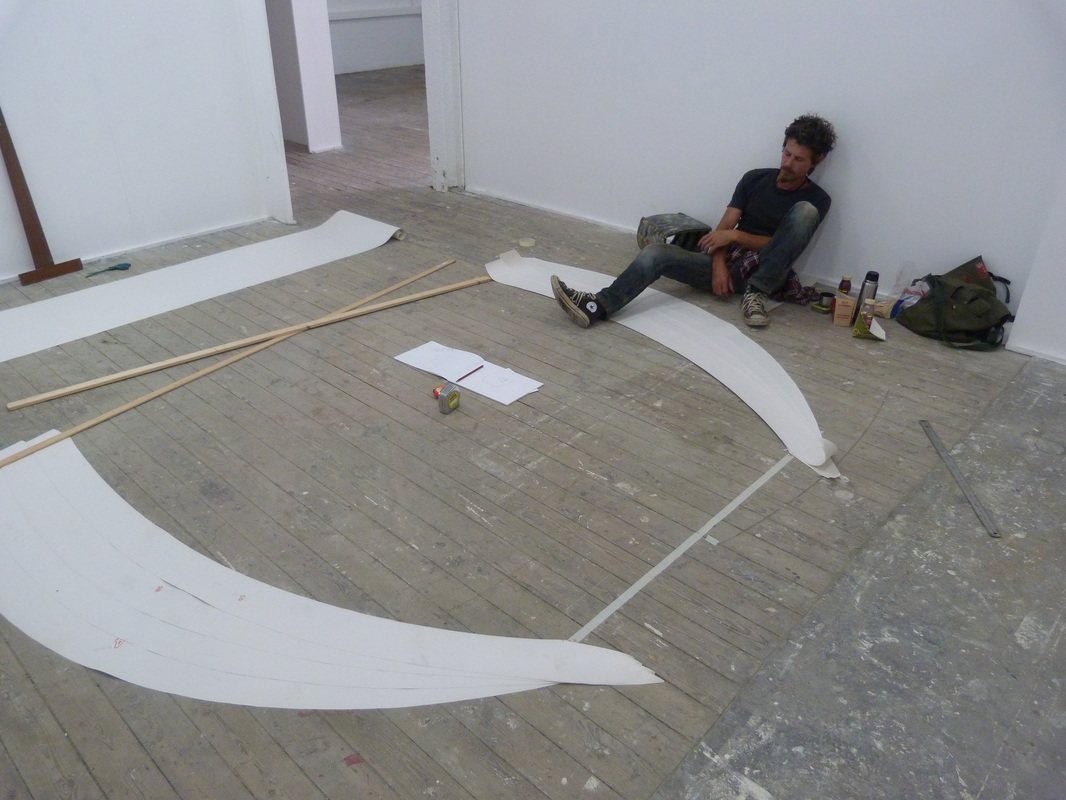
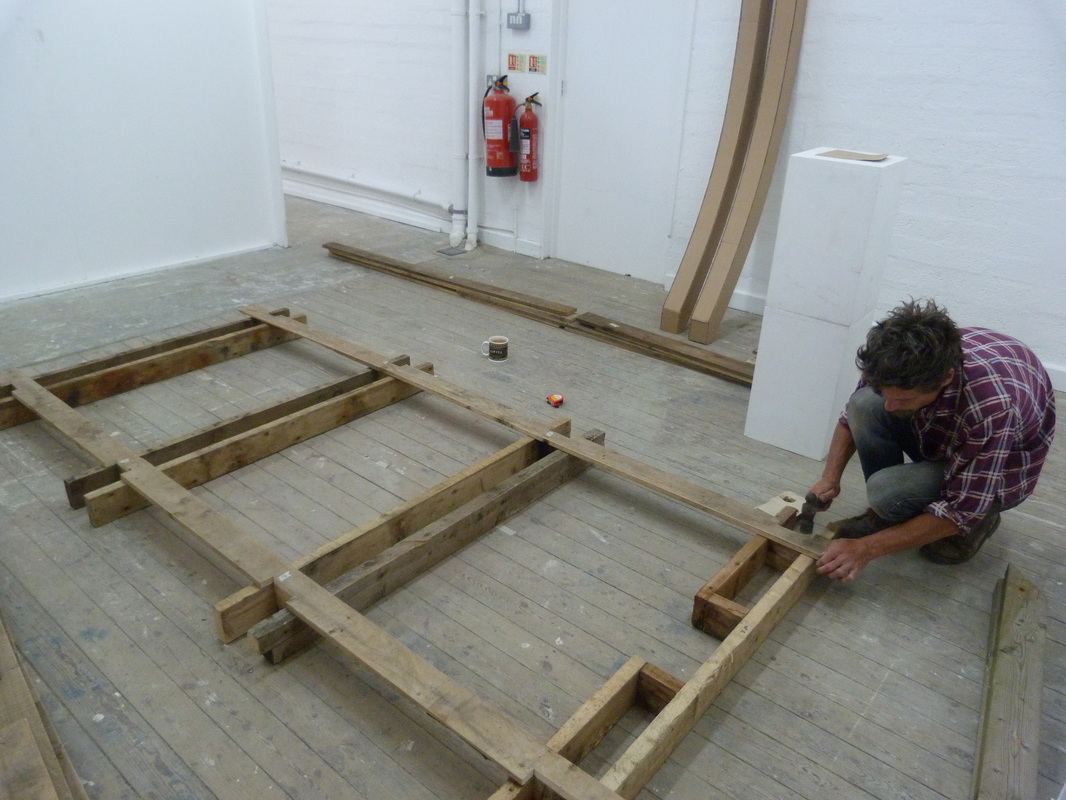
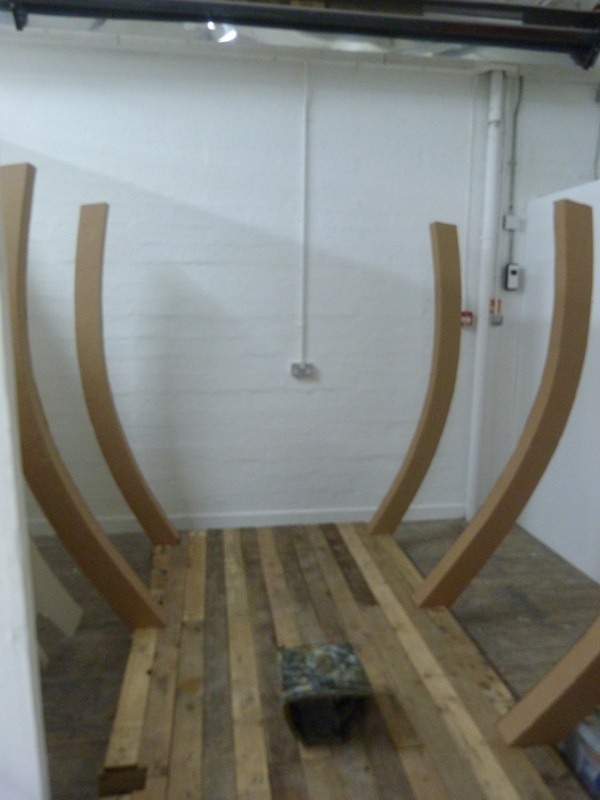
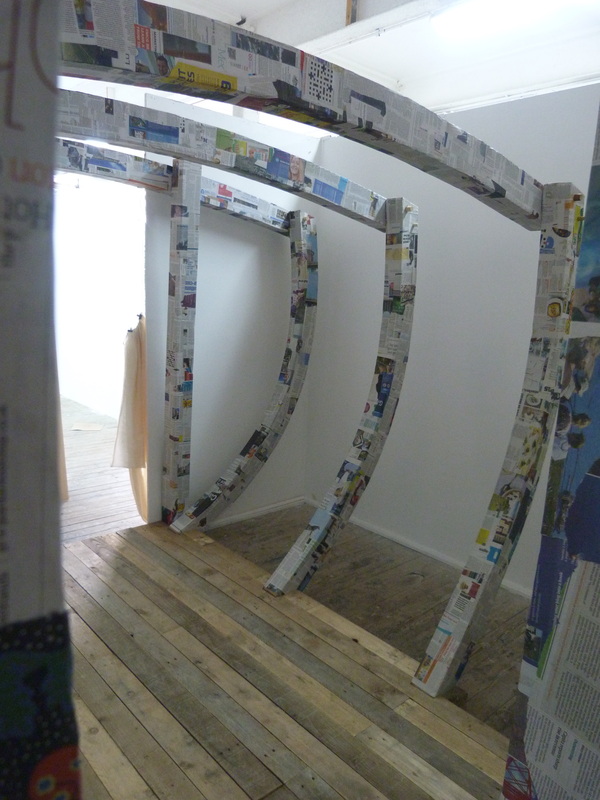
Starting The BuildWith all the templates now made, work finally began in earnest on my installation. Tim put together the floor from reconstructed pallet wood, whilst using the templates I made the 12 ribs and beams which would hold everything in place. When the beams and the floor were finished and had been moved into my show space I was able to contemplate a few more details and begin to get a sense of how it would look when finished.
The ribs were made using the double-walled cardboard from these guys http://www.kitepackaging.co.uk/ and would soon be paper-mached, pasted, painted, stained and generally played around with until I achieved the aged and non-cardboardy look I created with the maquette. I also worked closely with the college technicians who assisted me in Tim's absence with issues such as the placement of the projector and the sound system which would bring my animation to life. At this point in the build I was left with just under two weeks to make the whole thing look authentic and convincing. I was also spending time at the real boat where Tim lives to record the sound effects for the soundtrack. |
|


|
|
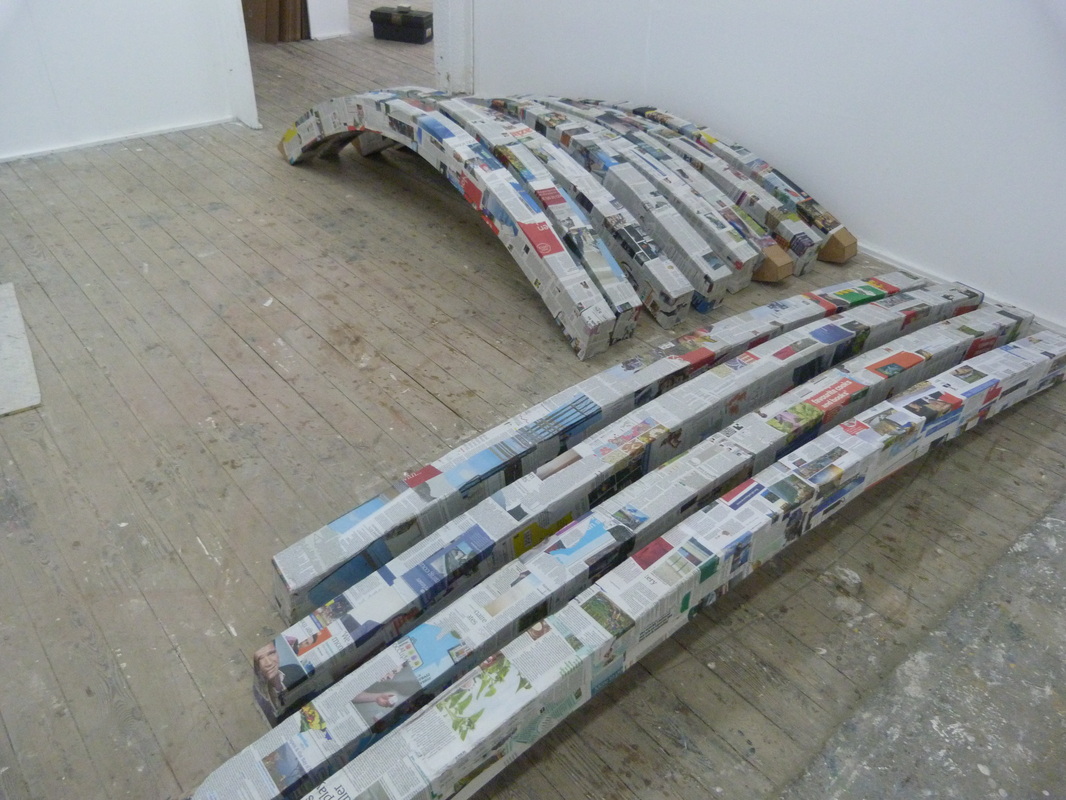
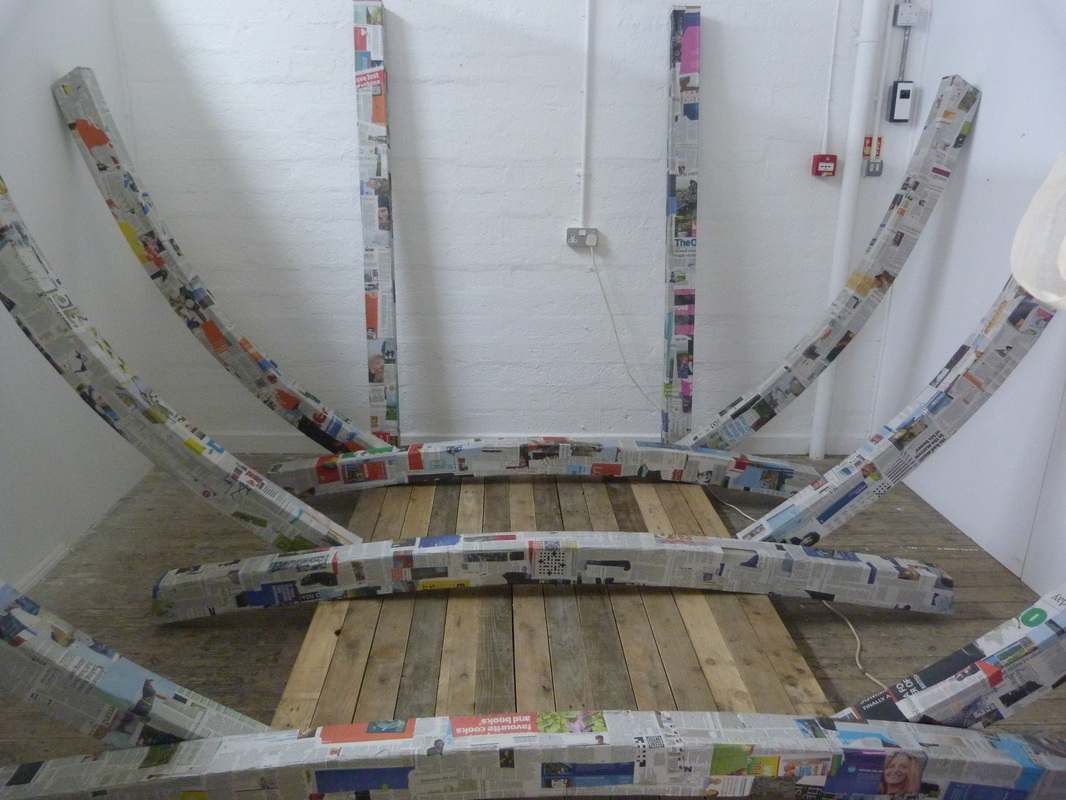
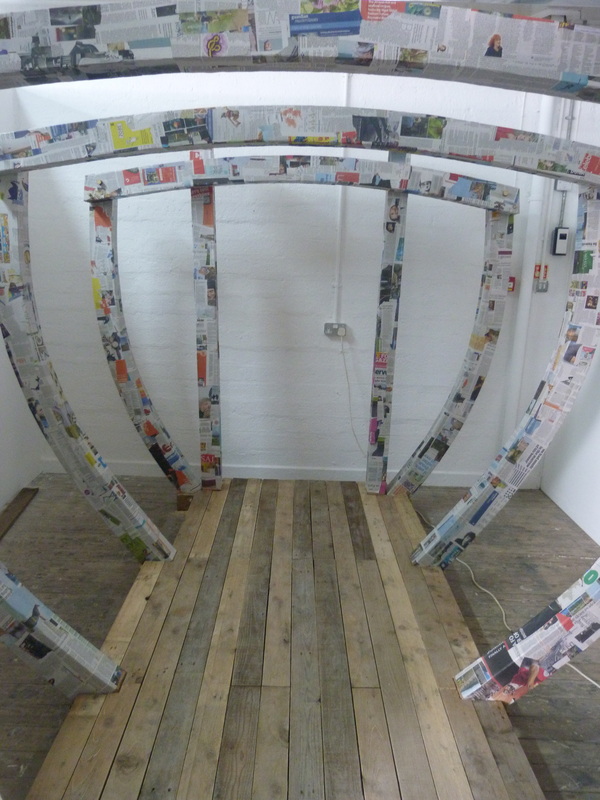
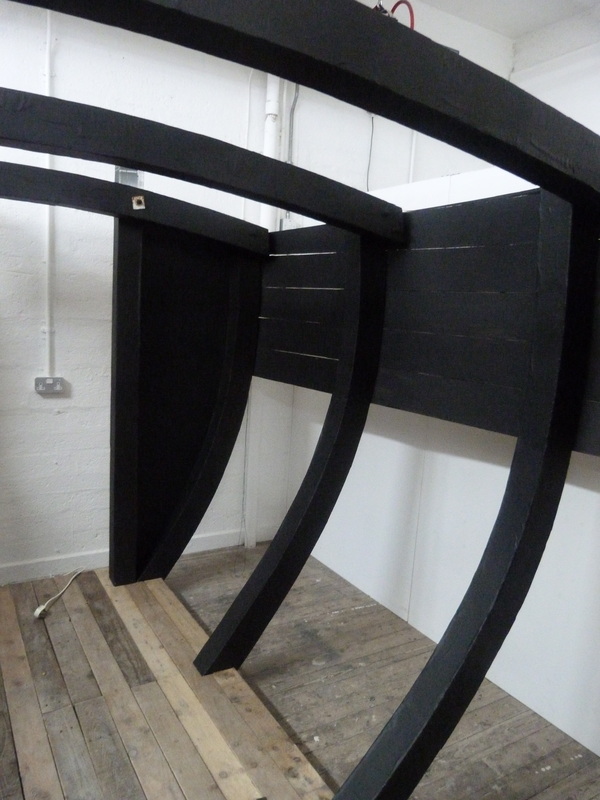
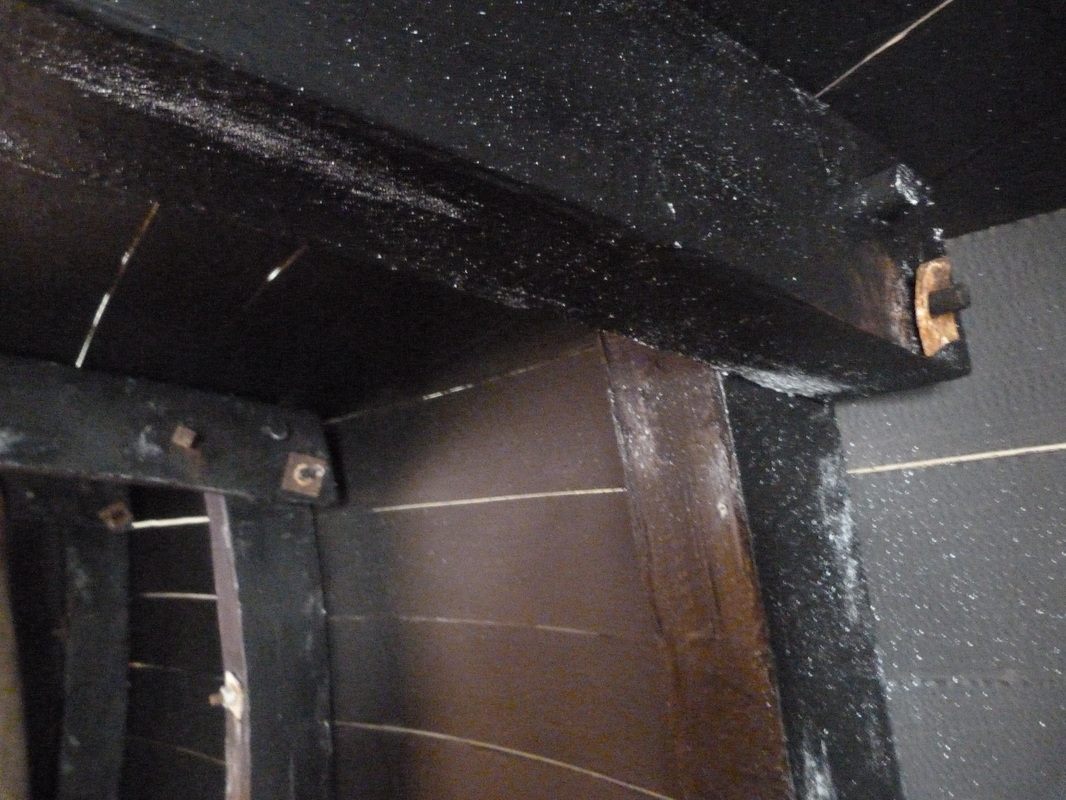
Building The FrameHaving spent what seemed like an eternity making ribs and beams out of cardboard whilst miserably listening to the drilling and hammering of the builders working in the rooms above, dust falling on my head (!)I finally and triumphantly managed to construct the frame for the boat. Made entirely out of cardboard, the beams were constructed from the carefully planned and measured templates with the four sections welded together with my new favourite tool, The Mighty Glue Gun. It turned out much better than I anticipated, having ditched my original plan to use hardboard, this construction was lightweight and easily moved around, but also very strong and sturdy once fixed in place. The beams were all held together using dowling and the whole thing, once put in place, held its shape perfectly. In addition, to disguise the cardboard and give the frame even more strength, I used a layer of paper-mache and a top layer of PVA to give myself a good base on which to paint. This part was the most tedious and from this point on, exciting things began to happen.
|


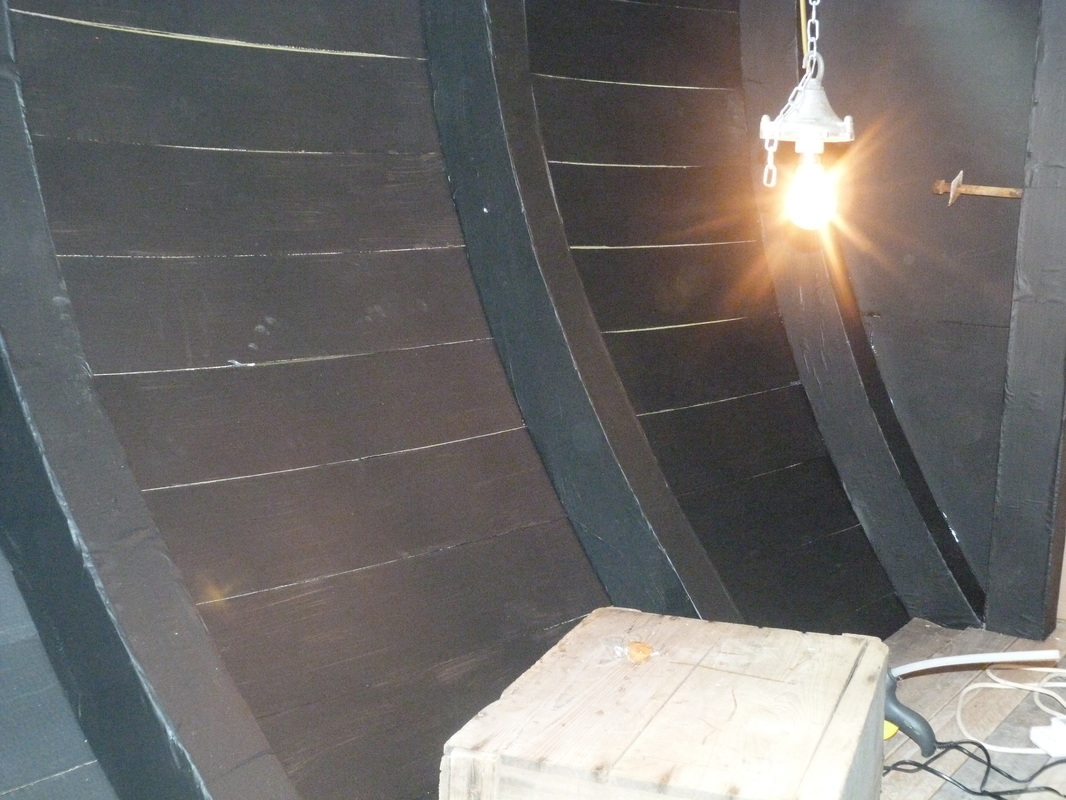
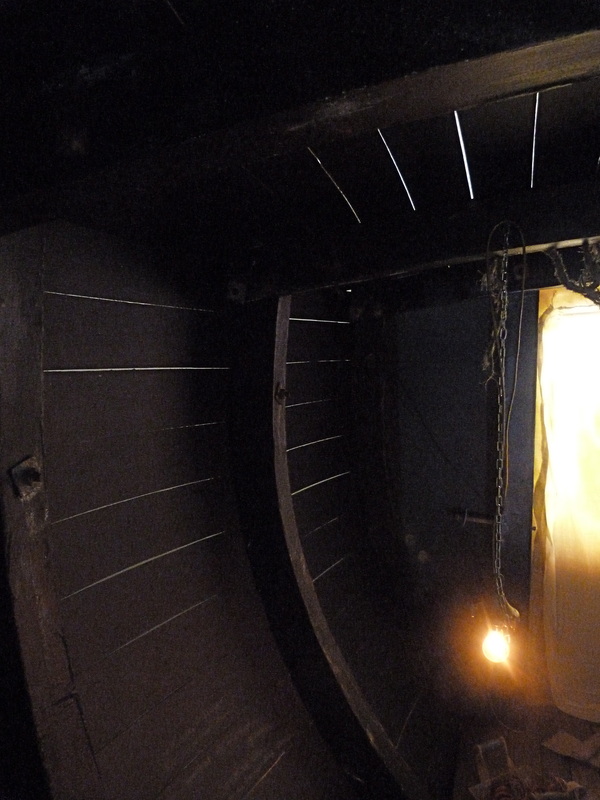
Moving on to The Exciting StuffI decided at this point that I wanted to 'plank' the sides of the boat, rather than use my original plan which was simply to use a single sheet of board rolled down the sides. I felt that this gave a more authentic feel of being on a wooden trawler, where the sides are planked and quite incredibly for a water-going vessel, gaps in the boards allow light in, which I though might be a nice aesthetic touch in the space. It wasn't that much more work and I thought it was worth it at this point. I also began painting everything black as a base coat for the more interesting paint effects that I intended to splash about with later.
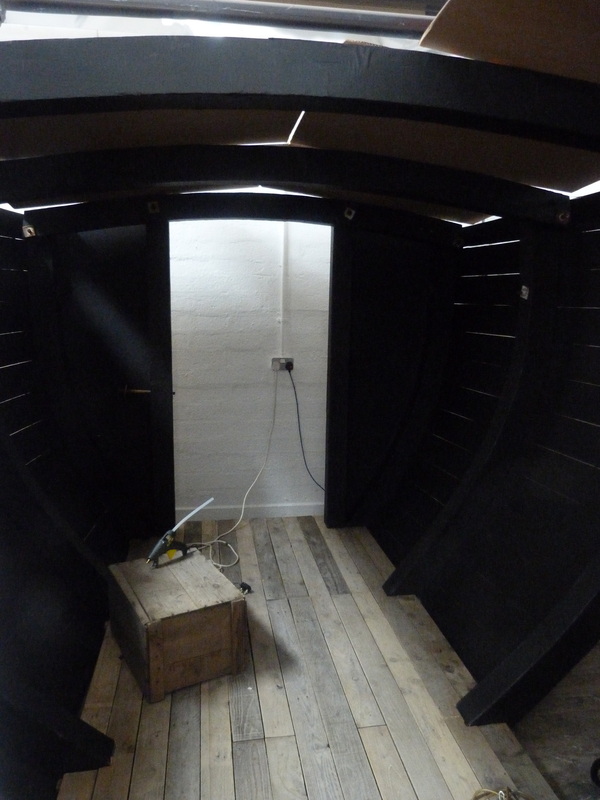
Other problems I was resolving were issues with the sound system and the data projector. To achieve a good level of sound I had wired up some big speakers to my home stereo which would be hidden around the back of the boat. I was also still finalising my soundtrack. Most importantly I finally managed to work out the positioning of the data projector which was there to project the animation into the space. This had given me a few headaches as I wanted an audience to be able to venture inside without disrupting the view or having a light shining into their eyes. I also spent quite a lot of time working out my extension lead needs! The next step was to finish the roof at which point the build would be completely finished, leaving me around 7 full days to apply ageing effects and to play with the projection and the 'setting of the stage'. |
|

|
|
DetailsWith the main build almost completed, I began thinking about all the little details which could make the installation really special.
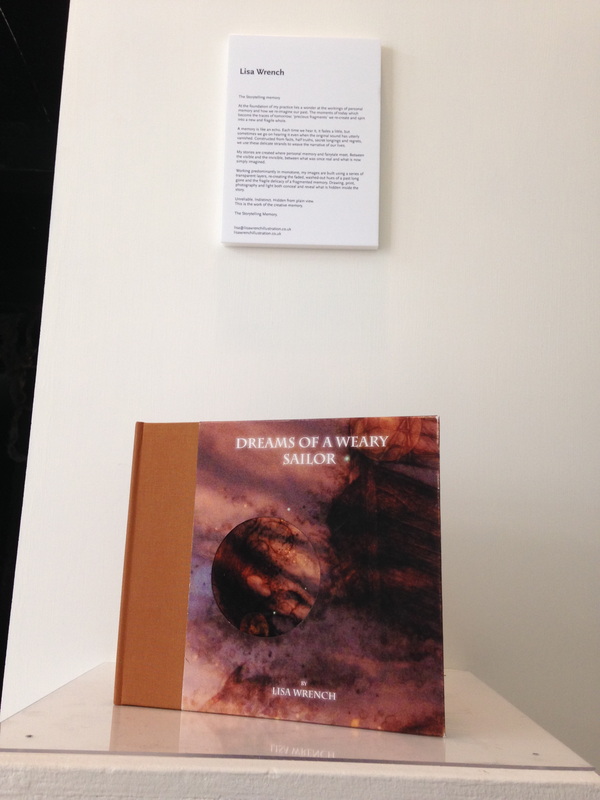
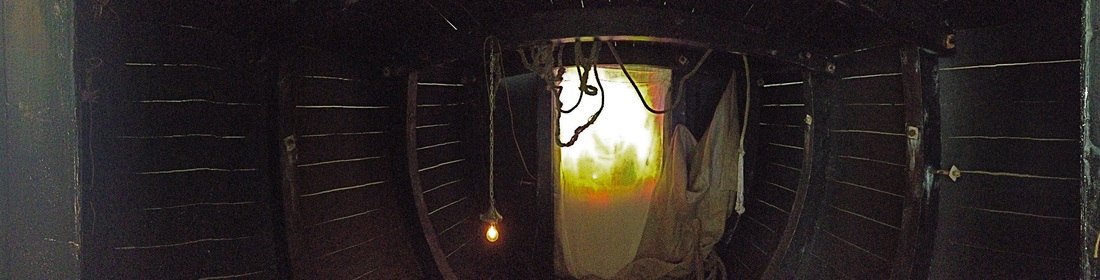
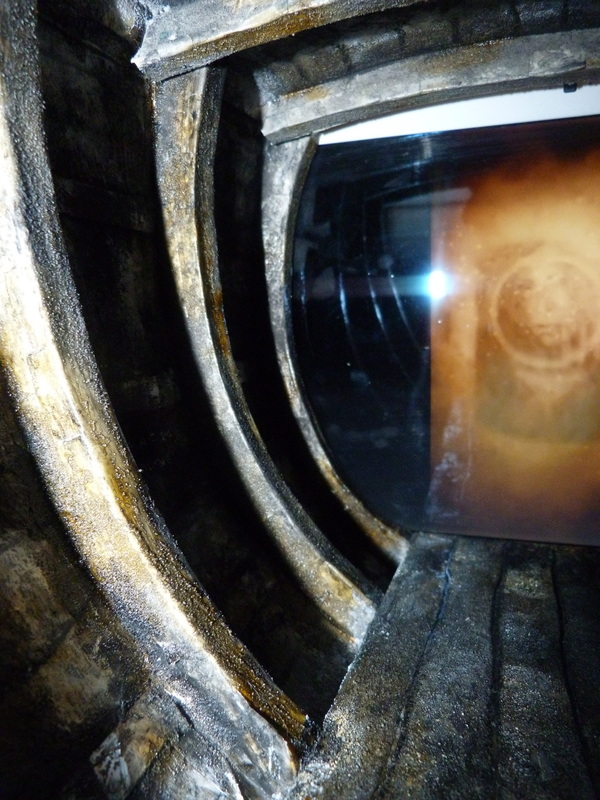
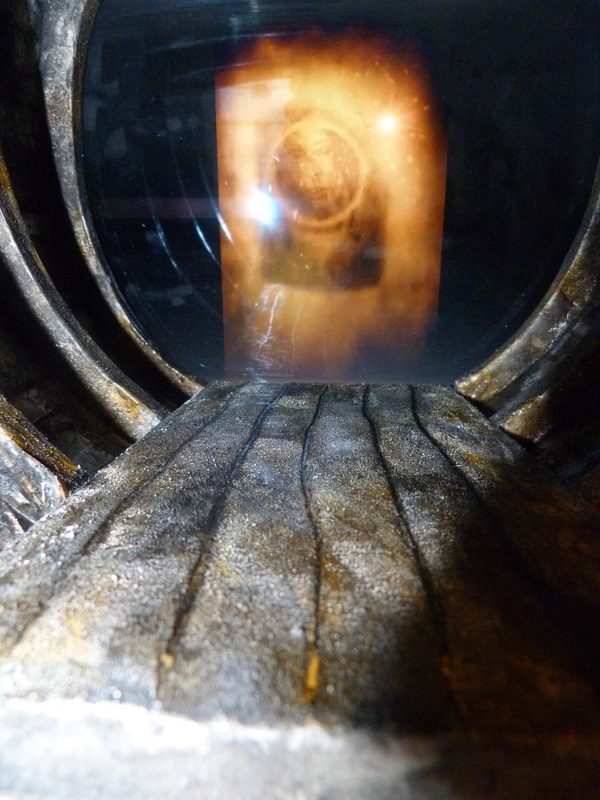
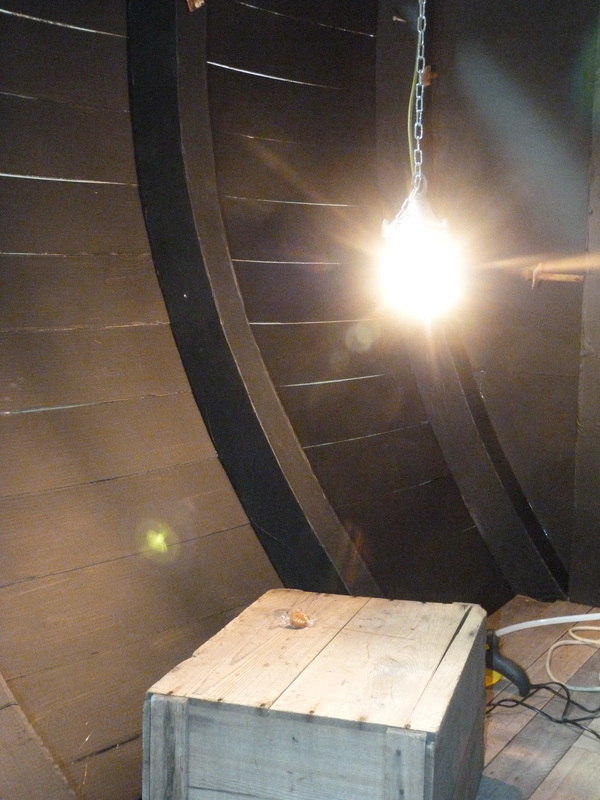
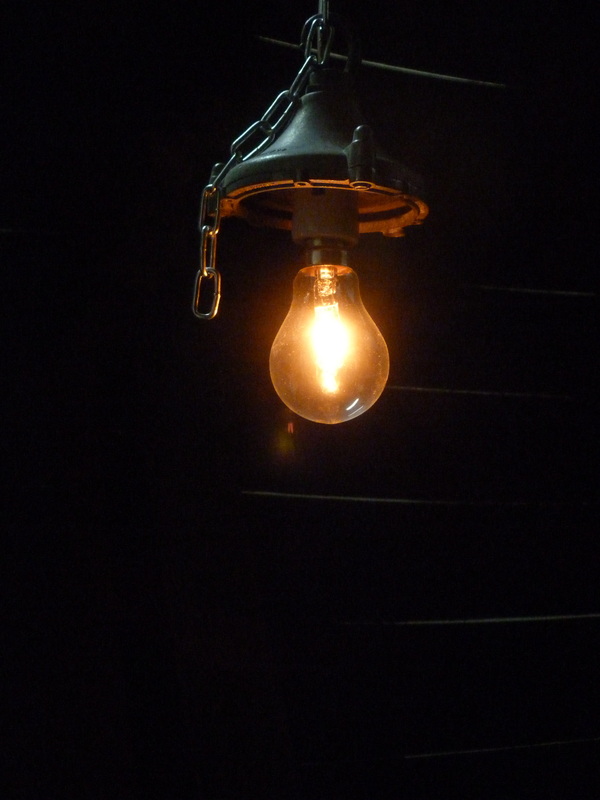
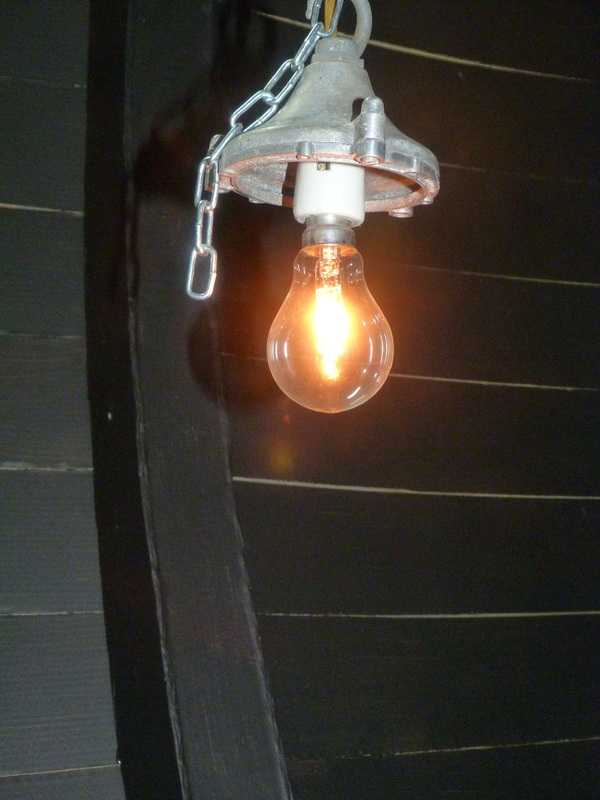
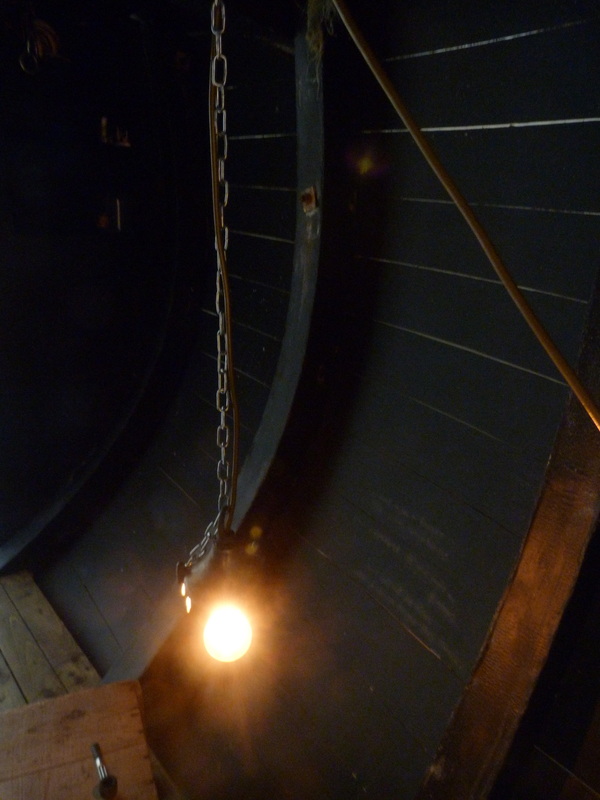
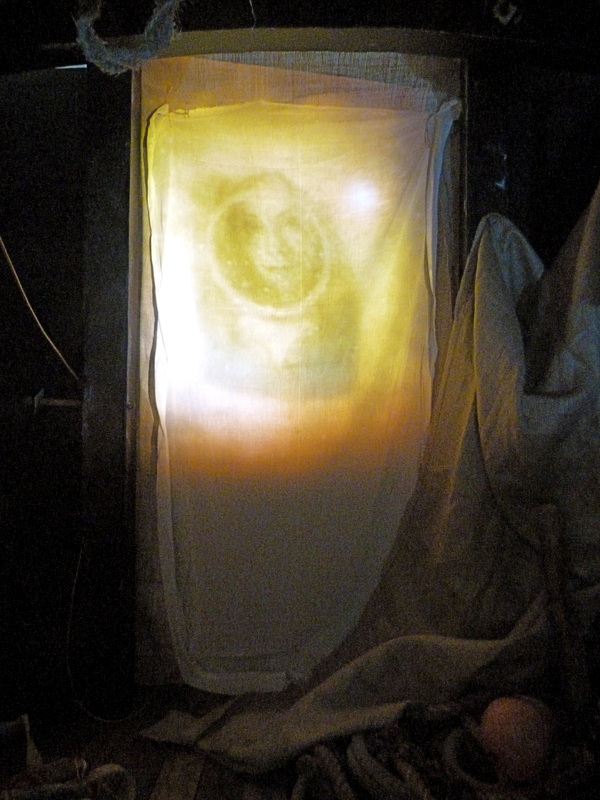
Over the last months of this project I thought of the many ways that I might interpret my story to an audience, whether that be through the traditional book format, as a series of light boxes, or as an animation. I am also very strongly influenced by theatre and set design. My images are all about light and layers and with this in mind, I gave a lot of thought about how my work would translate into this 3D space. I realised that what I was creating wasn't just a 'stage set' on which the action takes place, but a 3D image or a large, fully immersive light box. My primary source of light would come from the projection of my animation, but I felt that the absent character of the sailor should have a more central role even though he wouldn't physically be inhabiting the space. So, I gave him his own light. A little spotlight on a dimmer switch created and made especially to highlight his space and his character. |


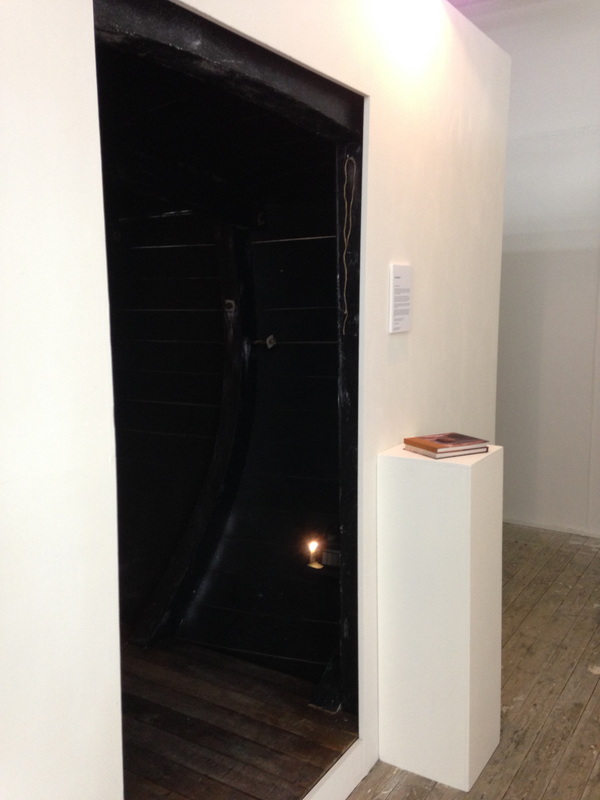
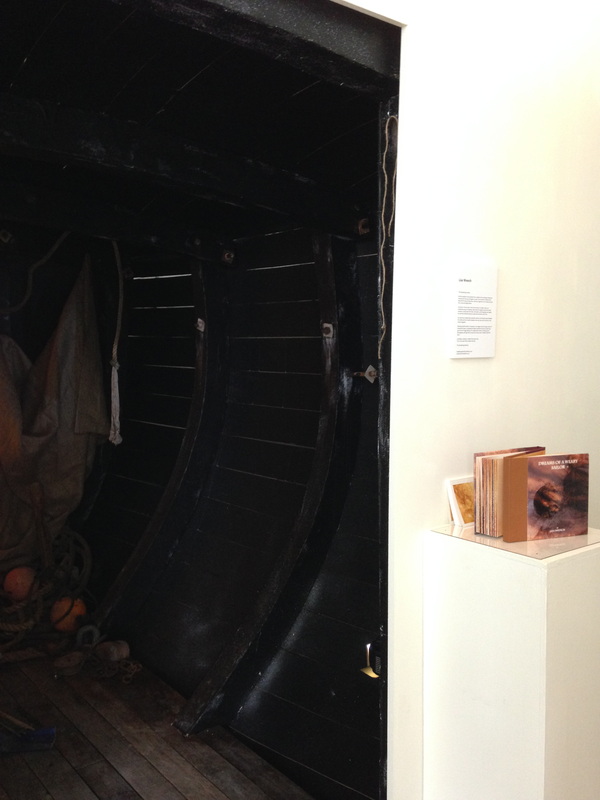
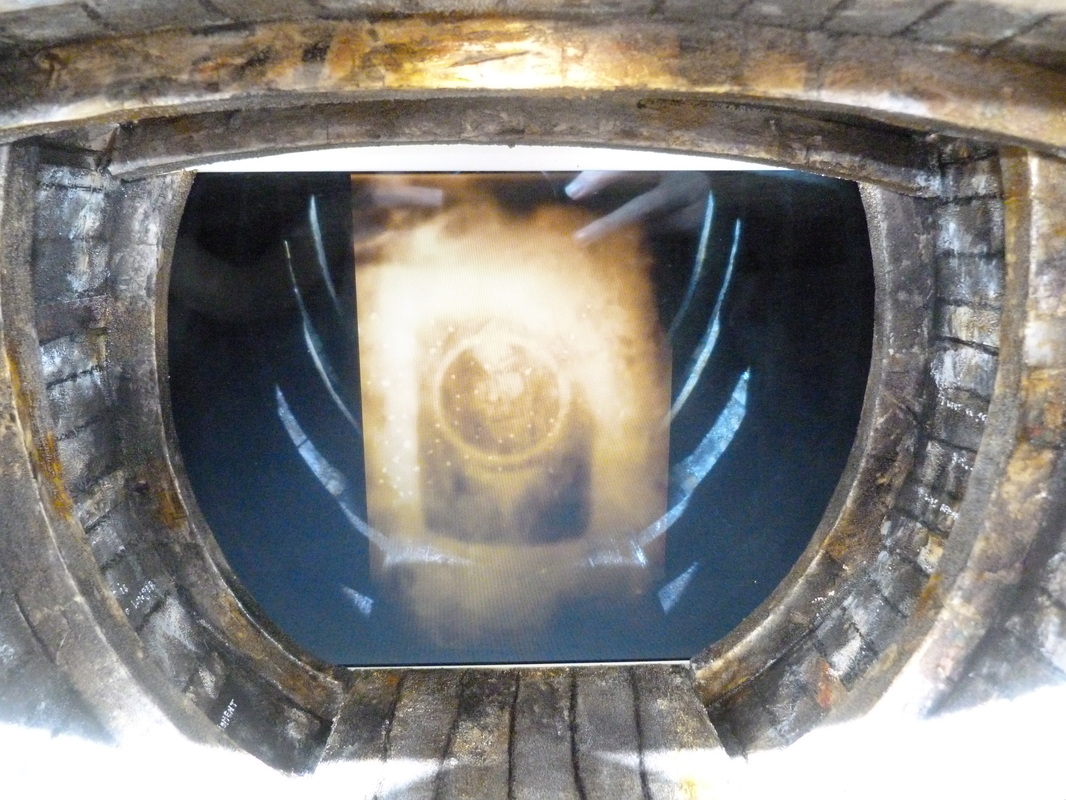
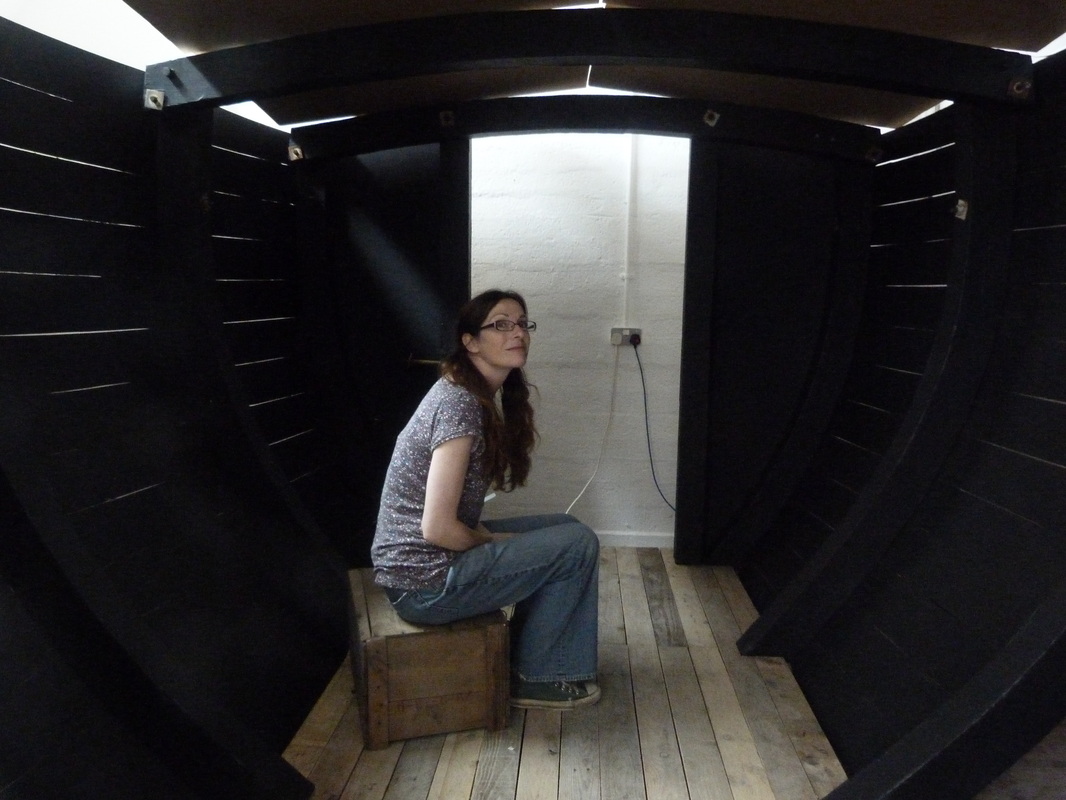
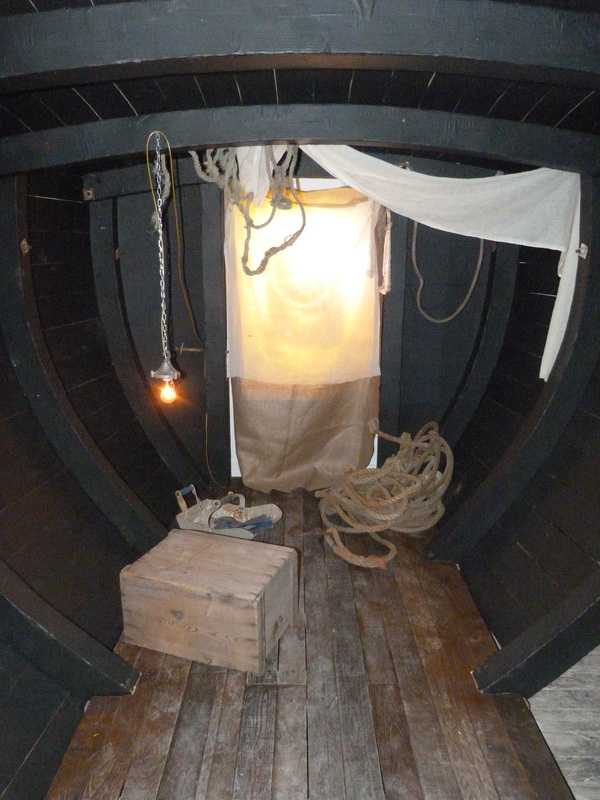
Setting The StageBy this point, the build was completely finished, the sound system and the data projector were in place, and I was left with a week to bring the installation to life.
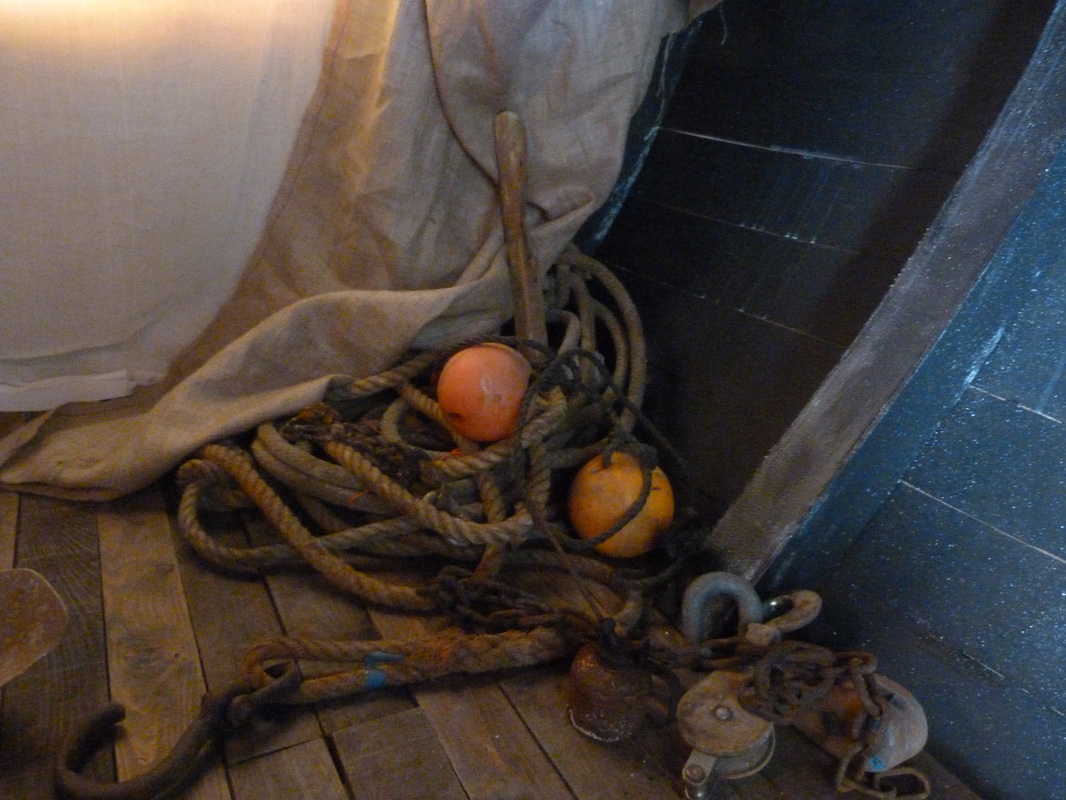
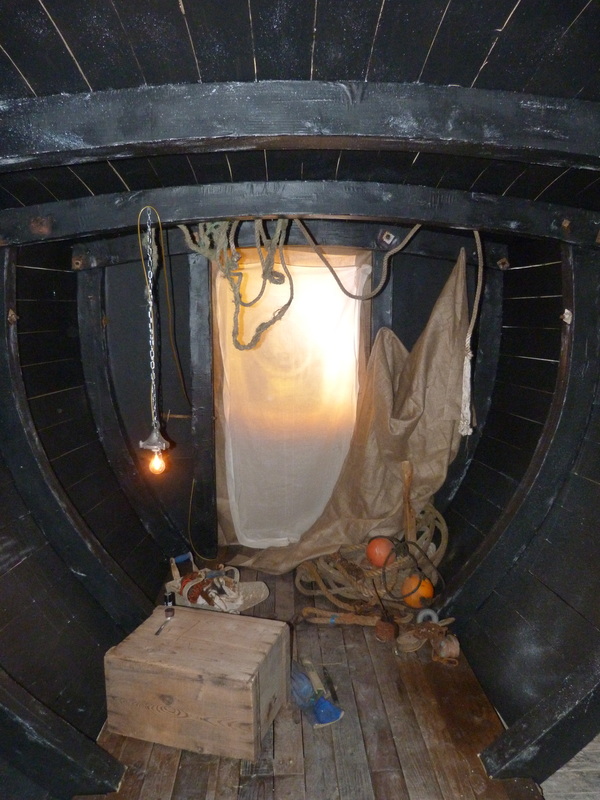
I wanted the interior to be dark, dirty and a little unsettling, so I darkened the floor with a woodstain and set about dressing the interior, experimenting with the placement of props. Everything I used inside the installation was authentic: Ropes, nails, fishing nets and hooks, even a tin of Stockholm Tar was sneakily hidden to infuse the place with a real boat smell! |
|


|
|
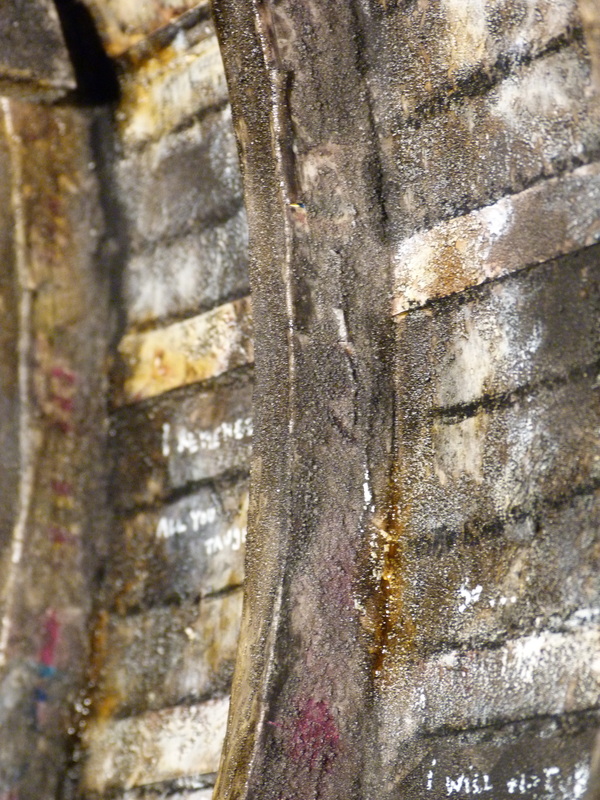
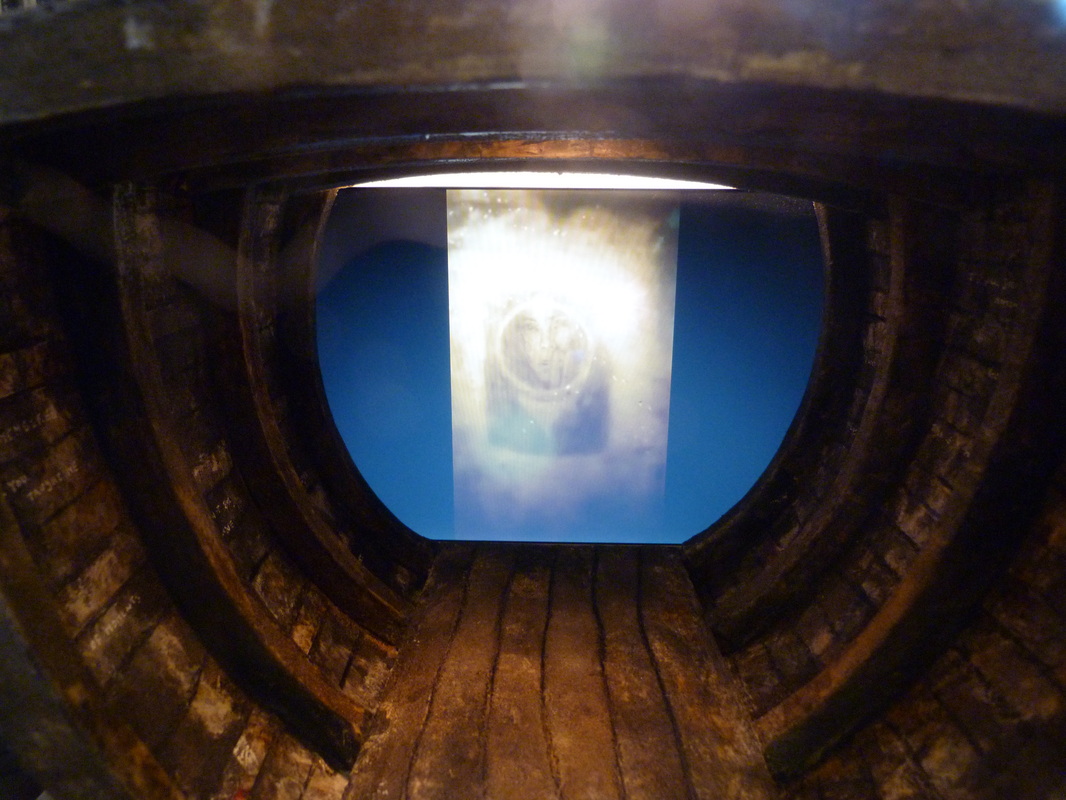
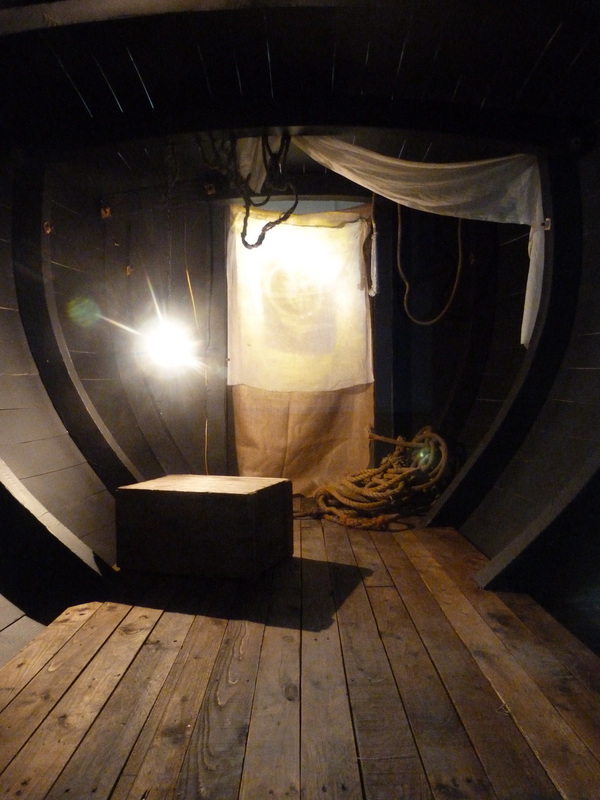
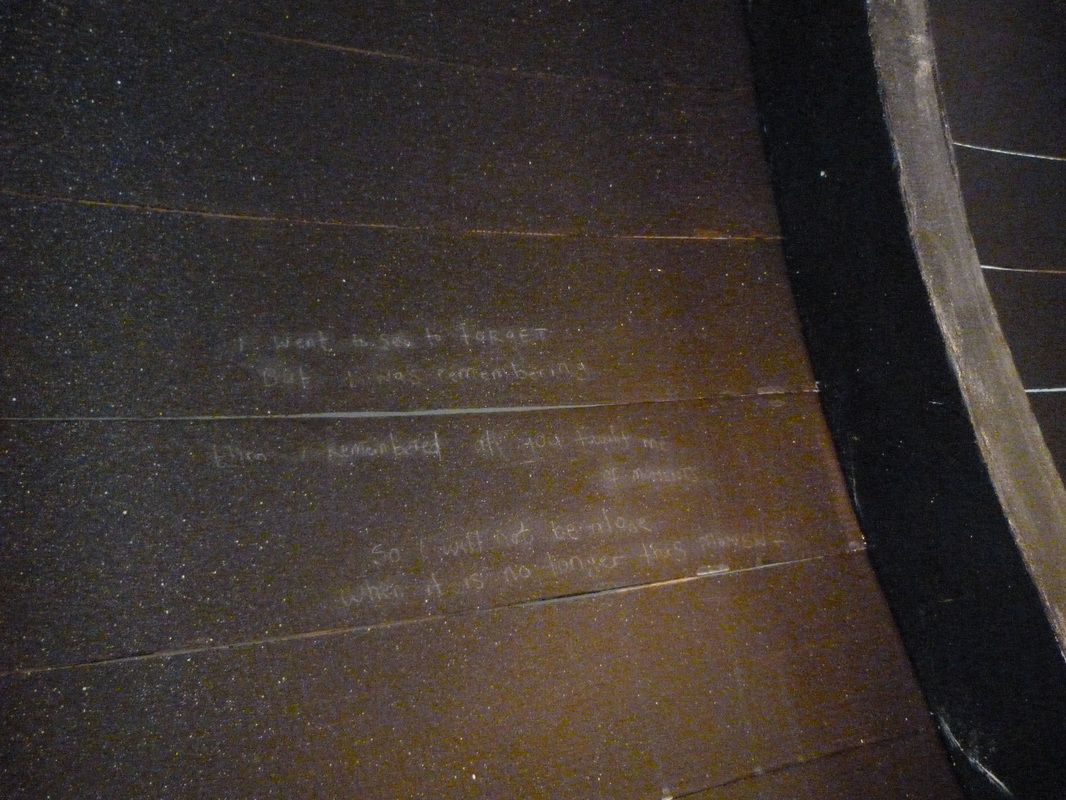
Final Touches & The End ResultIn the final week I spent some time working on paint effects, adding details to give more atmosphere. I mixed up white, red and brown paint with PVA to create rust and mould stains and to give the impression of a damp atmosphere with water running down the walls. Despite this, it remained to me a place I found myself wanting to be in, feeling safe and hidden away, a real cave of dreams! With the sound effects and the projector running it took on a more unnerving atmosphere, the sound of the sea and the flickering of the light from the projected image was fooling visitors into believing the boat was actually moving. Click thorough the photos on the left for more details and return to The Still Moving Image to view the film of the finished piece.
|

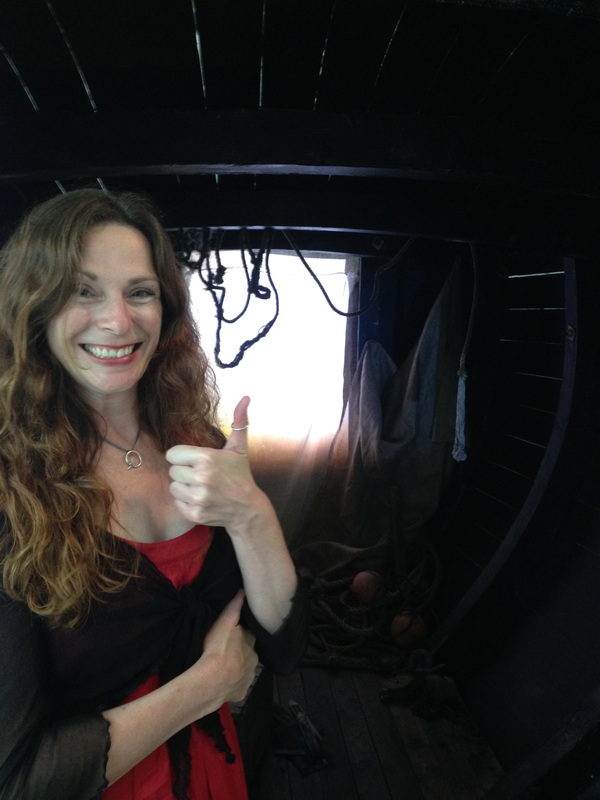
The Opening NightAfter all that hard work it was time to dress up and celebrate. The show previewed on September 2nd 2014 and was the culmination of two years work on the illustration MA at Falmouth University. I got a distinction.
The boat currently resides in storage, waiting to be reassembled for a future exhibition. Tim still resides on the real boat 'Albacore', the inspiration behind this project, and work to restore her is ongoing ... |
|